


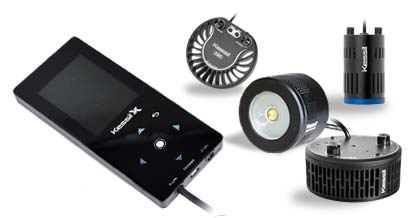
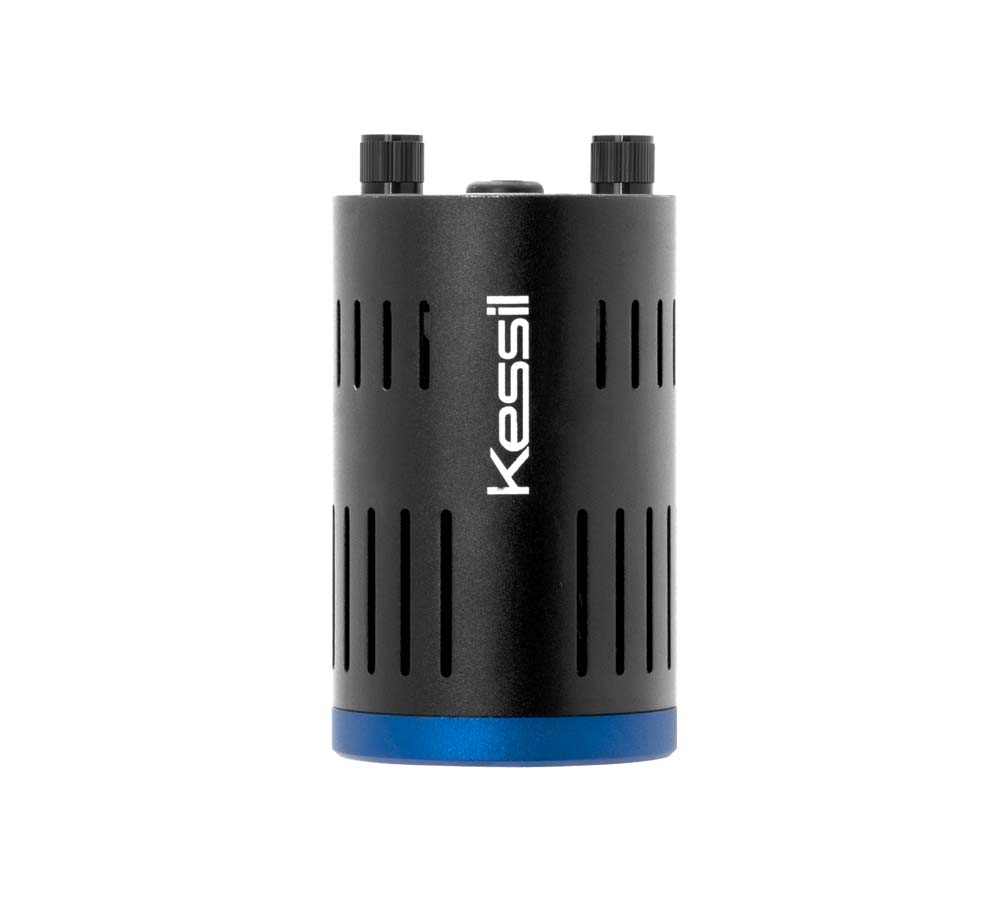
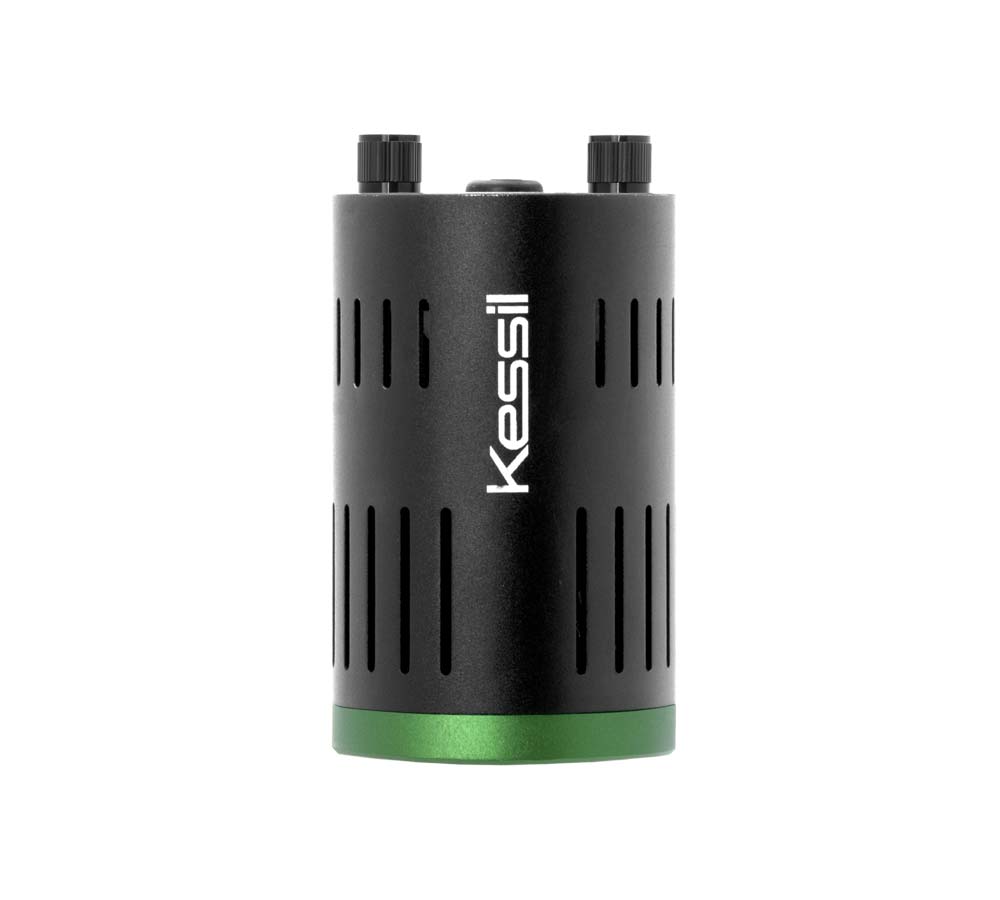
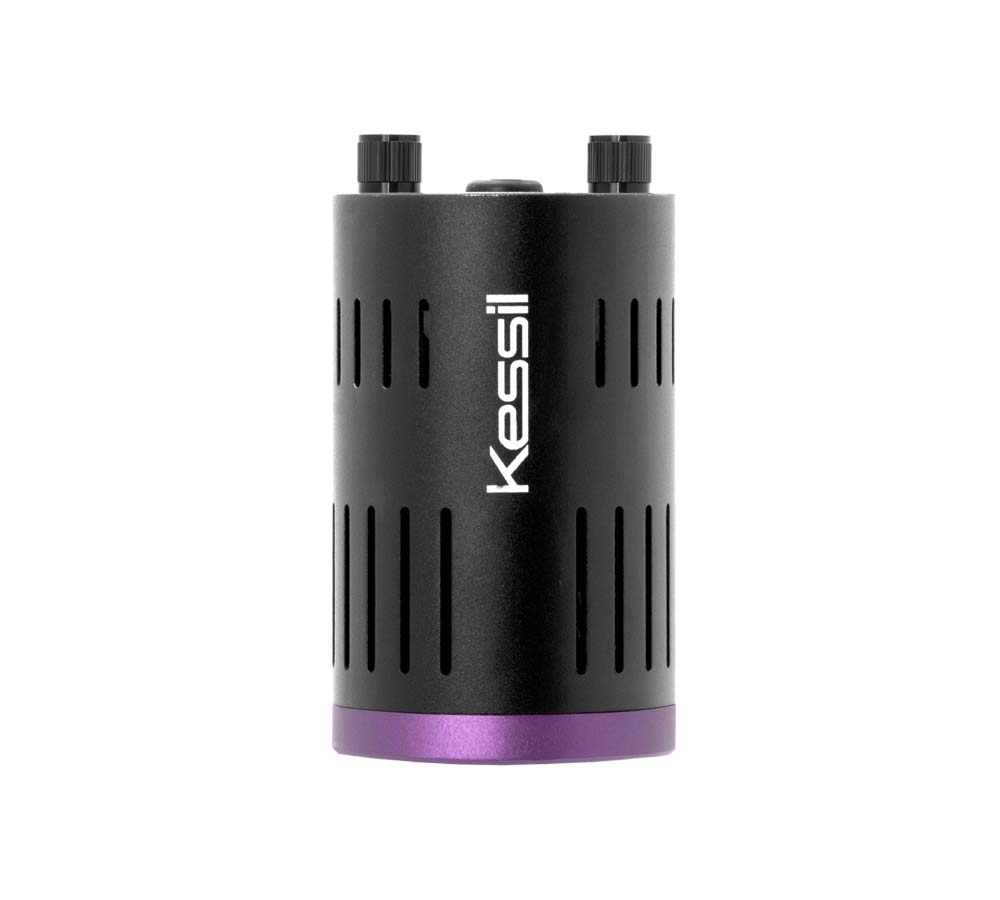
Kessil Special Controller X
Regular price$99.99
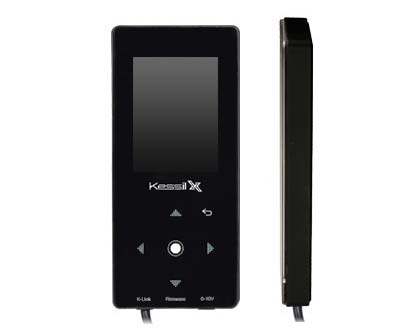
Intuitive and Affordable Light Control
Equipped with flawless touch control and a vivid color display, the Spectral Controller is effortless light control at the touch of your fingertips. Its straightforward approach to light control programming allows for endless customization options without the confusion. The sleek, modern design ensures a beautiful and cohesive setup that won't disrupt the look of your aquarium.
Separator
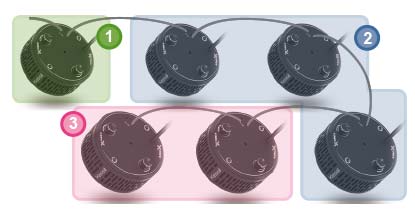
Smart K-Link Communication
The new K-Link communication method is an upgrade of the easily plug & play 0-10V, allowing users to network multiple A360 together(up to 32 fixtures per chain) and set individual groups to run their own programs. K-Link is also a two-way communication, meaning the Spectral Controller can detect the number of lights in the network, the status of the lights, etc.
Separator
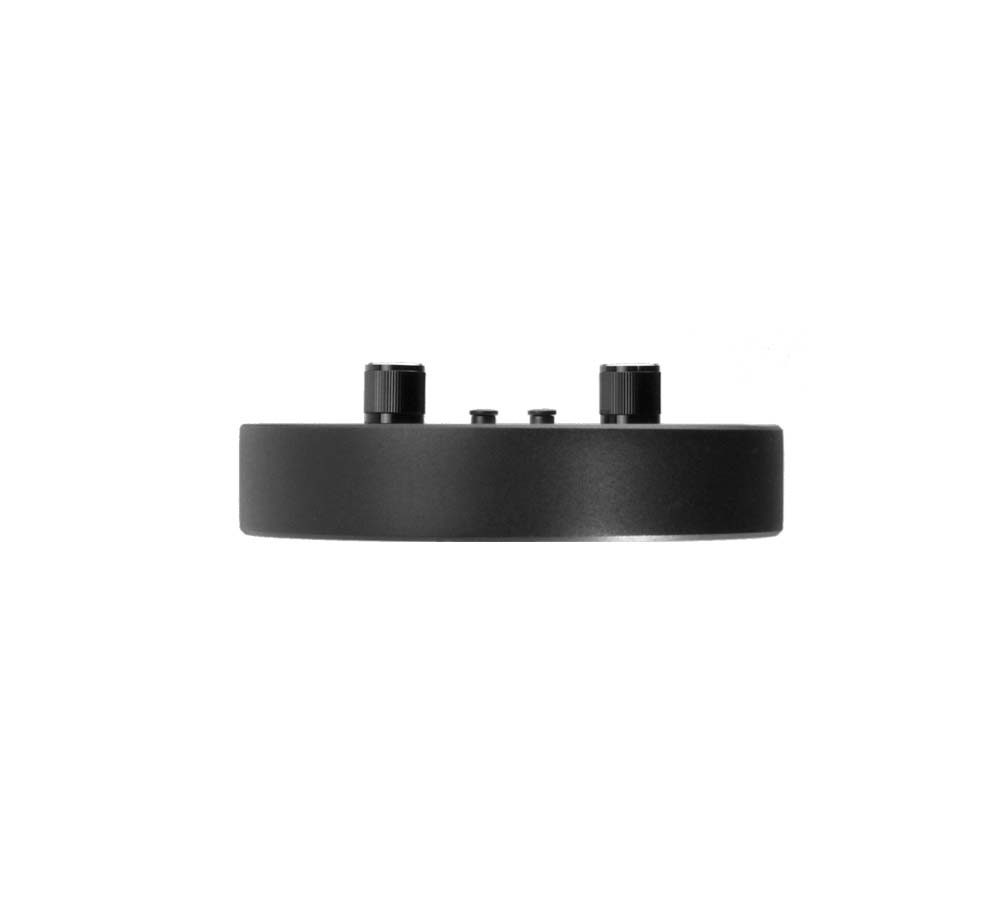
One Controller, Two Ports - Backward Compatible
Each controller is equipped with one K-Link port and one 0-10V output port. The K-Link port allows users to connect to the new A360, while the 0-10V port is for Kessil’s 0-10V light fixture.
Note: USB power adapter is not included
** 0-10V Unit Link Cable for 0-10V lights is not included **
Separator
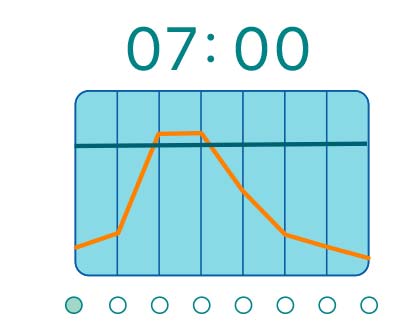
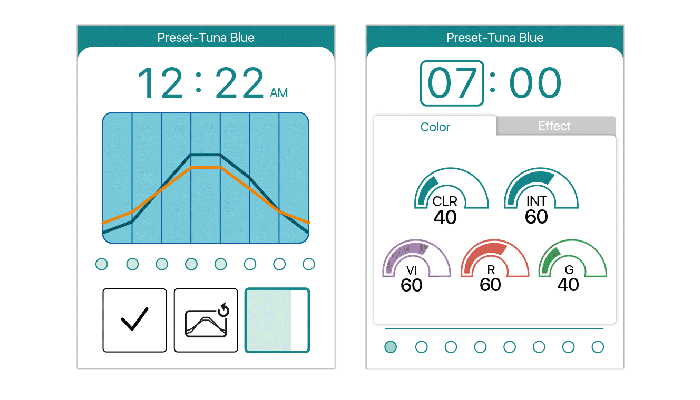
Program Mode
Features three ways of setting a customized light schedule to match individual tank needs. Maximum of 12 programs can be created
Quick Set:
Create unique dawn and dusk effects by altering light intensity and color throughout eight different time points.
Acclimation Mode:
Simplify the introduction of new lights to a tank or new corals to an existing setup with acclimation mode. The acclimation timeline can be customized to suit specific needs.
Lunar Cycle:
Simulate natural moonlight cycles with 5 phases: New Moon, Waxing Crescent, Waxing Quarter, Waxing Gibbous, Full moon
Separator
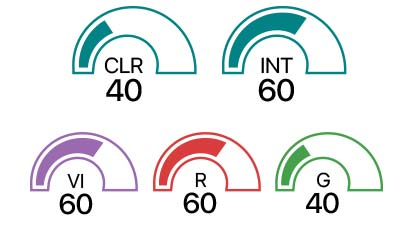
Manual Mode
Manual Mode: Instantly tune color and intensity for on demand light customization.
Separator
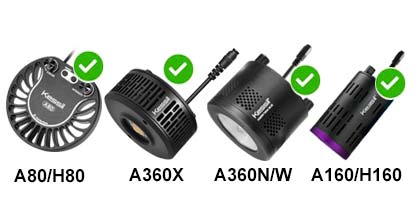
Compatibility
The Spectral Controller is compatible with the A360 and all the 0-10V Kessil lights
Note: USB power adapter is not included
Separator
Product Information
Overview
Equipped with flawless touch control and a vivid color display, the Spectral Controller offers effortless light control at the touch of your fingertips. Its straightforward approach to light control programming allows for endless customization options without the confusion. The sleek, modern design ensures a beautiful and cohesive setup that won't disrupt the look of your aquarium.
Separator
What's in the Box
-
Spectral Controller (x1)
-
Magnetic Back Plate (x1)
-
Micro USB Cable (for firmware update) (x1)
-
K-Link Cable (10’) (x1)
-
Screws (x2)
-
Nylon Anchor (x2)
Separator
Please make sure to consult the Spectral Controller Quick Start Guide and follow each step.
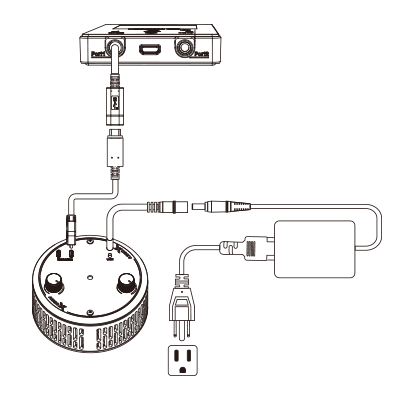
Step 1 Power
-
Plug the K-Link Cable (10’) to the K-Link (female).
-
Plug the other end to the A360X K-Link Port.
-
Plug the A360X to the power supply and plug the AC cable of the power supply to a wall outlet.
Alternative
-
Plug the Micro USB Cable to the Micro-USB port and to a 5V/1A USB power adapter. (USB power adapter not included)
* The Spectral Controller X can be powered off through A360X if the controller is not connected to a 5V/1A USB power adapter.
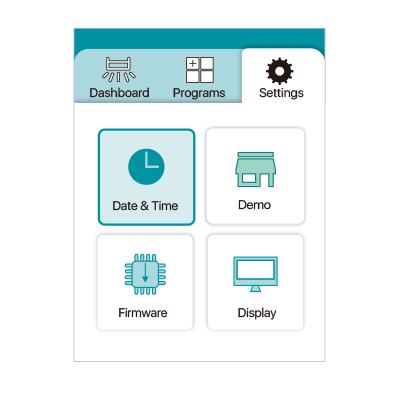
Step 2 Set Up
-
Use the Direction Pad
 to navigate to the Settings tab.
 -
Press
 to access the settings.
 -
Press
 to return to tab options.
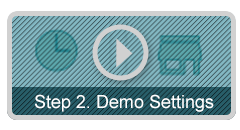
Demo Settings
-
When Demo Mode is turned on, any adjustments will not be saved. After the set minutes of inactivity, light will automatically revert back to the settings/programs prior to Demo Mode. This is designed for retail stores to allow customers trying out the control and functions.
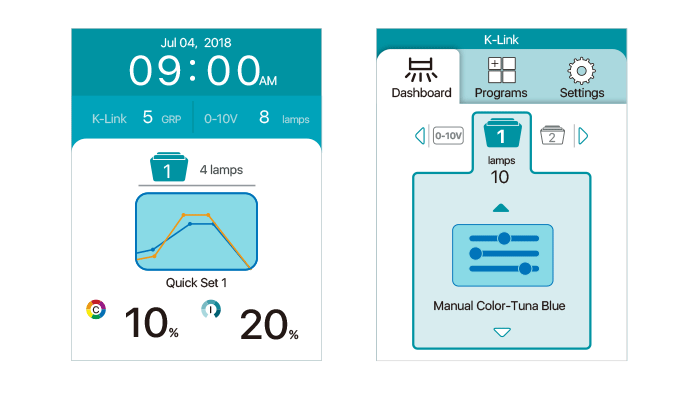
Step 3 Choose the Program
-
The Status Page will cycle through the status of each group every 2 seconds.
-
Press
to enter tab options. Press one more time to enter Dashboard. -
In the Dashboard, press
to select group, press  to select program.
 -
Under Manual Color, press
to set the manual colors & intensity. Navigate to Effect tab to try out the effects. Navigate to Group tab to group the lights

Step 4 Set the Group
-
From the Status page, press
to enter tab options. Press one more time to enter Dashboard. -
In Dashboard, press
to select group, press to highlight your group. Press to select "Manual". Press to enter "Manual" -
Navigate to the
 tab, press
  until
until  is selected and press to enter group arrangement mode.
 -
Press
to select lamps and navigate to the desired interacting group (bottom part). -
Press
to move lamps from active group (top part) to interacting group(bottom part) or vise versa.
Note: The 4-digit number is the last 4-digit of the Serial Number of the lamp

Step 5 Program
-
Use the Direction Pad (C) to navigate to the Programs tab.
-
Press
to access the programs settings -
Press
to navigate between preset programs or new program and press to enter. -
Press
to choose time point and press to enter for detail settings. -
Press
to navigate between functional settings, press to adjust value.
Note: After creating your Program, remember to go to Dashboard and choose your program under the group.
Step 6 Mounting
-
Use the screws provided to mount the magnetic back plate to a wooden surface.
-
If mounting to a dry wall, pre-drill two 1/4" (6.5mm) holes and insert nylon anchors before screwing the plate in.

Separator
Separator
Compatible with
AP9X
A500X Tuna Blue
A360XE Tuna Blue
A360XE Tuna Sun
A360X Tuna Blue
A360X Tuna Sun
A160WE Tuna Blue
A160WE Tuna Sun
A80 Tuna Blue
A80 Tuna Sun
H160 Tuna Flora
H80 Tuna Flora